Thursday, November 26, 2015

Apocalyptic B.A. V.W. Bus - Lego

The Volkswagen Bus has long been a favorite vehicle of mine. The apocalypse has been a favorite theme of mine. I thought one day that I would combine those two ideas. Must I really explain why? No. Let's talk about the Lego machine. 


Since the vehicle is covered with apocalyptic extras, we can cover this machine one piece at a time. 


With the pieces I had at my disposal, I focused on the structure of the front, as that is the most distinguishable part of the VW Bus. I used the side-to-side clips to attach side-mirrors, two 4-wide windscreen pieces for the windshield. I put a jail-window for a metal grate over the driver-side windscreen. As usual, I made the vehicle 8-studs-wide. For lack of a VW emblem, I used a simple 4x4 circle plate. 


The back view provides us with a better glimpse of the duallies, as well as the doors for the engine area (oh yes, there's an engine in there). The back windows are covered up from the inside (this is the apocalypse after all. 


It's hard to get a good image of the engine, because of the shadows in the engine bay (using the flash illuminated everything but the engine area as well). Like the actual VW Bus, the engine is in the back, under the backseat. Unlike the stock versions, this one is decked out differently on the inside (but more on that later). 


On the right side of the vehicle, we can see that the rear-side windows are black mesh (to protect the occupants from shrapnel, zombies, Jehovah's Witnesses, etc). The metal grating over the side door doubles as a ladder to get to the roof. 


The roof has a solar power sphere, which helps generate power for the appliances (we'll get to the interior in just a minute, or hour if you read slowly) and electricity in the vehicle. There are also ares to store luggage, tools, and weapons. Up on the top-center is a mounted crossbow. It turns out these are great weapons in the apocalypse. 


The metal ladder/grating also folds down to access the door, and it doubles as a bridge, which is handy in almost no circumstance except for when you park next to a 3 foot high curb or a small river of lava. Still, it's good to be prepared. 


As an extra security mechanism, here is the sign: "Keep Out." That'll stop those murdering raiders and starving walkers. We also get a glance inside, can kind of see the sink area, and so we begin our tour of the interior.


As funny as it may look, having the roof hinge upwards allows easier access to the inside. Now, some VW Buses just had bench seats. But a lot of them were for hippies who liked to go live in the woods and smoke hookahs and stuff. So they were designed more like recreational vehicles in the inside. Since it's the apocalypse, having something to live in comfortably seems the most rational.


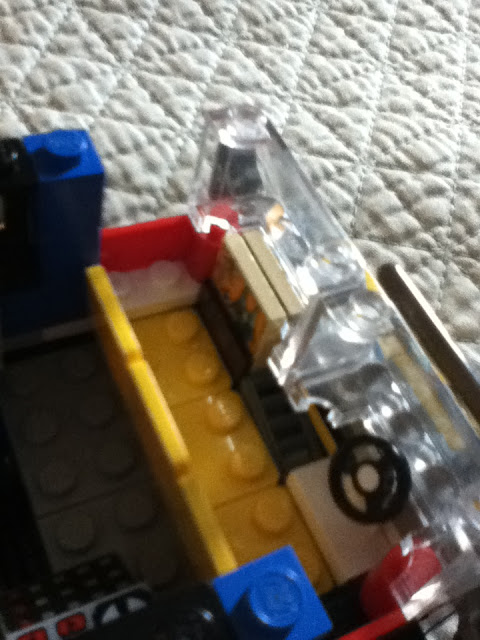
From this view we can see the sink a little bit,  a stove top, a computer navigation machine, and a backpack. Behind the backpack are cupboards for storage. The glass pane underneath the backpack covers the engine while taking up the least amount of space in the inside. I know there are pieces of this nature that are colored, and once I get some, I can replace that glass. In the meantime, it offers a nice view of the engine. 


Above the sink and stove-top, you can see that there is a hinge piece and a sideways brick, and are probably wondering what it is. Well that, my friend, is the bottom of a fold-down bed. 


Here is that bed folded down. There is a little pillow on it, and whatnot. Good for storage, for saving room in the inside while not sleeping. 


Up front is a bench seat, for squishing up next to your girlfriend on long, romantic evenings, running (driving?) for your gritty, unshowered lives from the murderous scum that have overridden the earth. The dashboard in front of the passenger side has a slot for maps, in case GPS satellites are no longer functioning. So whoohoo, I hope your girl can navigate like they had to in the old days. 


It is entirely probable that I had way too much fun building this machine, but ah well, such is the life of a child-at-heart. Coming soon is the other VW Bus that I built for my girlfriend (right now it's white, but I might change that.) 


Wednesday, November 25, 2015

Nash Metropolitan - Legos

After fooling about, inventing my own kinds of vehicles out of Legos, I began trying my hand at recreating existing models. I started with the Nash Metropolitan, since it has always been a favorite classic car of mine. The tire skirts were a mild problem, as I don't often work with narrow axles. In order for the wheels to fit between the skirts, I had to use the standard 2x2 axles, rather than the 2x2 with the extensions, which is what I typically use on 8-wide vehicles. 


It is probably noted that I paid more attention to color than usual. This is because the Nash wouldn't be as noticeably a Nash without the famous and unique body/paint style typical to these classics. While I prefer using two 4-wide windscreens on 8-wide vehicles, I wanted to achieve the petite feel that the Metropolitan exudes, so I used 6-wides for the front and back glass. 


From the side, we can see the tires, and the slight fenders around them. These would be best accentuated by using white plates on the bottom instead of grey, however, I must admit that white plates of that size were not among my available Lego pieces. The headlights would be better if they were less harsh (those specific colored pieces came from a Jack Stone set, so you can let that sink in for a while). Having a better selection of pieces, or even more time on my hands, I might do well to move the headlights out half a brick, so they are more centered. Clear light pieces would work better as well.


As mentioned, the white plates of a virtuous size were not to be found in all the land. I stuck to whatever scraps I could find, and mashed them together to create the far-too-angular roof. Probably my least favorite part about this creation is the roof piece. That, and that it isn't a real Nash.


It certainly was fun to make though.

If I upgrade/work on it, you can expect these changes:
- White plates on the bottom, to help accentuate the fender areas
- A more gentle roof, less sharp and angular
- That grey piece you see on the left rear window frame should be white, but I couldn't find one
- I'm almost positive that I can figure out a way to put an engine in the hood area; it's a pretty big hole, currently filled with black bricks. I think it would add another dimension to this vehicle (the more details the better). 

Cab-Over Lego Truck

This piece (like most of my Lego creations) is concerned far more with the structure than with color. When working with leftover pieces and miscellaneous pieces, multicolored messes are to be expected. Upon the bestowment of more Legos upon me in the future, I will hopefully have a wider variety of colors to choose from when building.

This is a generic Mac with a cab-over body. 


 I used those pesky hing pieces that we all want to use but never have opportunity to. You can see them melded in with the front bumper. While they worked well for strength in the cab-over actions (as seen below), they unfortunately wrecked the tire-to-body scale. Usually the front tire would be much closer to the front. Ah, well, you can't win them all.


 The hinge pieces give it enough strength to lift the whole cab up and keep it up. If we look closer, we can see the engine. 


The engine underneath might be a little over the top. I think it would appear to be a V12, if that even happens in that format on semis. I will here add a clause that I am very unfamiliar with truck engines, and thus just stuck a racing-style engine underneath the cab of this truck. 

UPDATE:

I do tinker around with old creations, so since these photos were taken, there are a few new additions to the truck. 


The back fenders have become much more stylish, but more importantly, the hitch is actually functional now. I had to really wrack my brain to design a workable hitch that could handle hills and tipping and turning, but I finally came up with something that seems to work wonderfully.


Of course, making a hitch meant making a trailer to go with it...


Using the simple hitch that (I think) I invented, making other trailers for the Mac should be a lot easier in the future.